Correct DIY Procedures Of Concrete Resurfacing OF Old Concrete Surfaces

Many floors of a house are covered with solid concrete that may wear out after many years of constant use. In that case, those concrete surfaces may need resurfacing during the renovation of the building. The task of concrete resurfacing is easy and can be done by any house owner. One just need to follow the DIY steps that can save the huge expenses of hiring professional contractors for fulfilling this job. Generally, the driveways, flooring of the garages and the sideways of the gardens are covered with concrete and need resurfacing after a few years.
Steps to follow for concrete resurfacing over damaged concrete floors

- Concrete surface should be cleaned: The old concrete surfaces need to be thoroughly cleaned to remove all the dust and dirt particles, before proceeding with the resurfacing procedures. It is best to wash the surface with detergent and forceful spray of water from a garden hosepipe, ensure absolute cleansing. If the concrete surface is stained with oil or paints, scrub the surface carefully, to eliminate these stains. In case of too tough stain, it is better to apply sealer to cover those stain marks permanently.
- Repair the cracks and holes: It is most likely to have small cracks or tiny holes over the old concrete floors. All these minor damages need to be repaired carefully with sand, marble powder, and cement, mixing with some water. These holes and cracks are well filled and levelled with a trowel, to make the surface even and perfectly ready for concrete resurfacing.
- Resurfacing agent mixed with water: The readymade resurfacing powder is available in the market in large sized bags of 40 pounds each. It needs to be mixed with sufficient water in a bucket. Generally, 1 part of water should be added to 7 parts of this resurfacing product, to get the suitable mixture that is finely mixed with a ½ inches drill that is provided with a paddle mixer. If the resultant mixture seems to be too thick, further you may add water to obtain the mixture in pourable state.
- Humidify the concrete surface: The surface to be resurfaced should be wetted by pouring some water over the whole area with a hosepipe. However, water should not stand over this surface and need to be swept clean to leave just a damp surface.
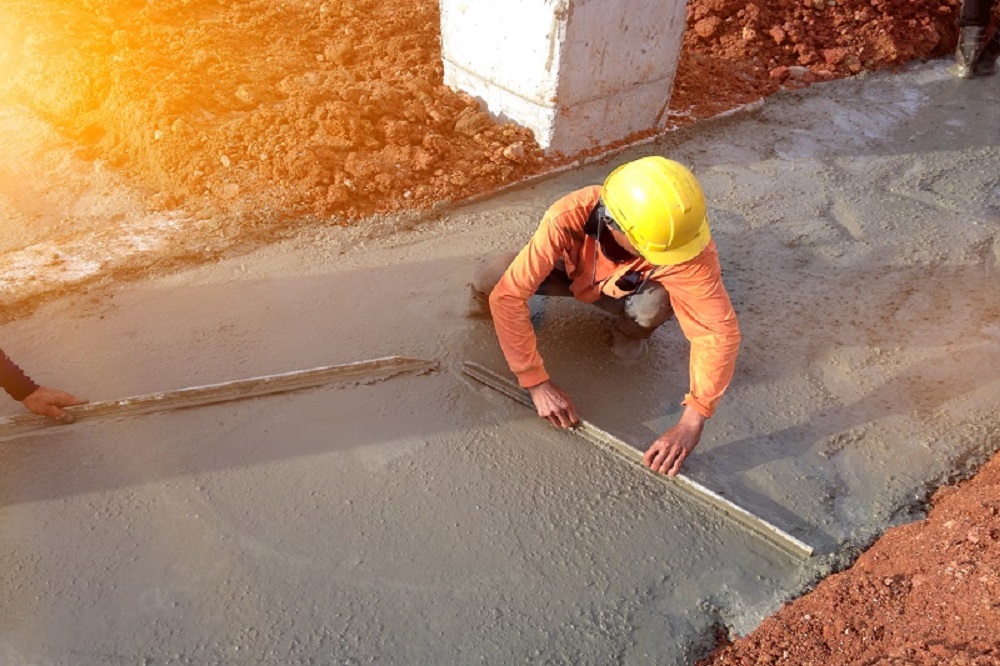
- Resurfacing mixture to be applied: Then, add resurfacing mixture into the concrete surface and it should be spread thinly and evenly over the whole surface, with a squeegee having a long handle. If so desired, the house owner may create an edge around the concerned surface, with a proper concrete edger, 29 minutes after the application of resurfacing mixture over the surface.
- Roughen the surface: When this resurfacing mixture is completely dry, it leaves a smooth and even floor surface not much desired in the garages or driveways. Hence, the house owners need to make scratches over the even resurfaced floors with a hard broomstick, while the concrete resurfacing mixture is still sufficiently humid for allowing the strokes to deepen on the moist surface.
The house owner needs to keep handy some of the useful tools for the DIY resurfacing operation. Generally, 5-gallon bucket for keeping water and another bucket for mixing the resurfacing agent with water, ½ inch drill with paddle mixing device, a hose pipe to pour water or a rented pressure washer, a squeegee with a long handle, a concrete edger and a long-handled broom are needed for completing this home improvement project. However, one tip to remember is that do not initiate the resurfacing work in too cold and rainy seasons.
-
-
-
-
/ 0 Comments